
Working with builder gel isn’t necessarily difficult — the real challenge lies in doing it well, consistently, day in and day out in a busy salon. Builder gel is thicker than most products, and if your hands aren’t used to it, it can easily run, lose shape, or cause issues, especially when you’re working on long nails or weak nail beds.
Many new techs say things like, “Builder gel feels hot, tricky to control, or clients often complain,” but the truth is — once you understand the proper technique, builder gel becomes one of the most durable and rewarding services to master. As seasoned nail techs often say: when builder gel is done right, clients always return — because the nails hold their shape, stay strong, and still feel lightweight.
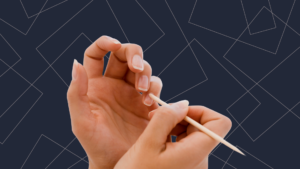
The first factor in building beautiful nails with gel is proper prep — and while it sounds basic, many overlook it. If the cuticle isn’t fully cleaned, if nail dust or oils remain on the surface, even the best gel won’t hold. Countless cases of lifting after just one week often come down to poor prep rather than product issues.
Builder gel application also requires subtle but vital adjustments. Unlike base gel, builder demands firm yet gentle control. You place it and let it flow — not drag it like polish. Avoid over-manipulating the product, which can introduce bubbles or distort the apex. Common beginner mistakes include over-brushing, using the wrong amount of product, or letting it flood the sidewalls.
Essential Principles for Successful Builder Gel Application
- Consistent hand control:
Builder gel is much thicker than base, so you must develop steady, confident strokes. The product isn’t meant to be painted — it should be placed and guided. - Flawless nail prep:
Use the correct buffer grit, thoroughly clean the cuticle zone, and always wipe with a dehydrator or cleanser before applying the base coat. Without this, gel adhesion is compromised. - Correct application technique:
- Don’t overwork the product by brushing repeatedly.
- Avoid pressing down too hard with your brush.
- Use the tip of the brush to guide the gel into place, rather than sweeping across the whole nail.
- If you’re still learning, angle the client’s hand slightly downward to help the gel self-level into shape.
- Minimising heat during curing:
All builder gels produce some heat when applied thickly. To reduce discomfort:- Cure in short bursts.
- Use the “Low Heat Mode” on your lamp if available.
- Let clients ease into the lamp with a few quick in-and-out passes before the full cure.
Introducing Flexi Build: A Softer Option for Special Cases
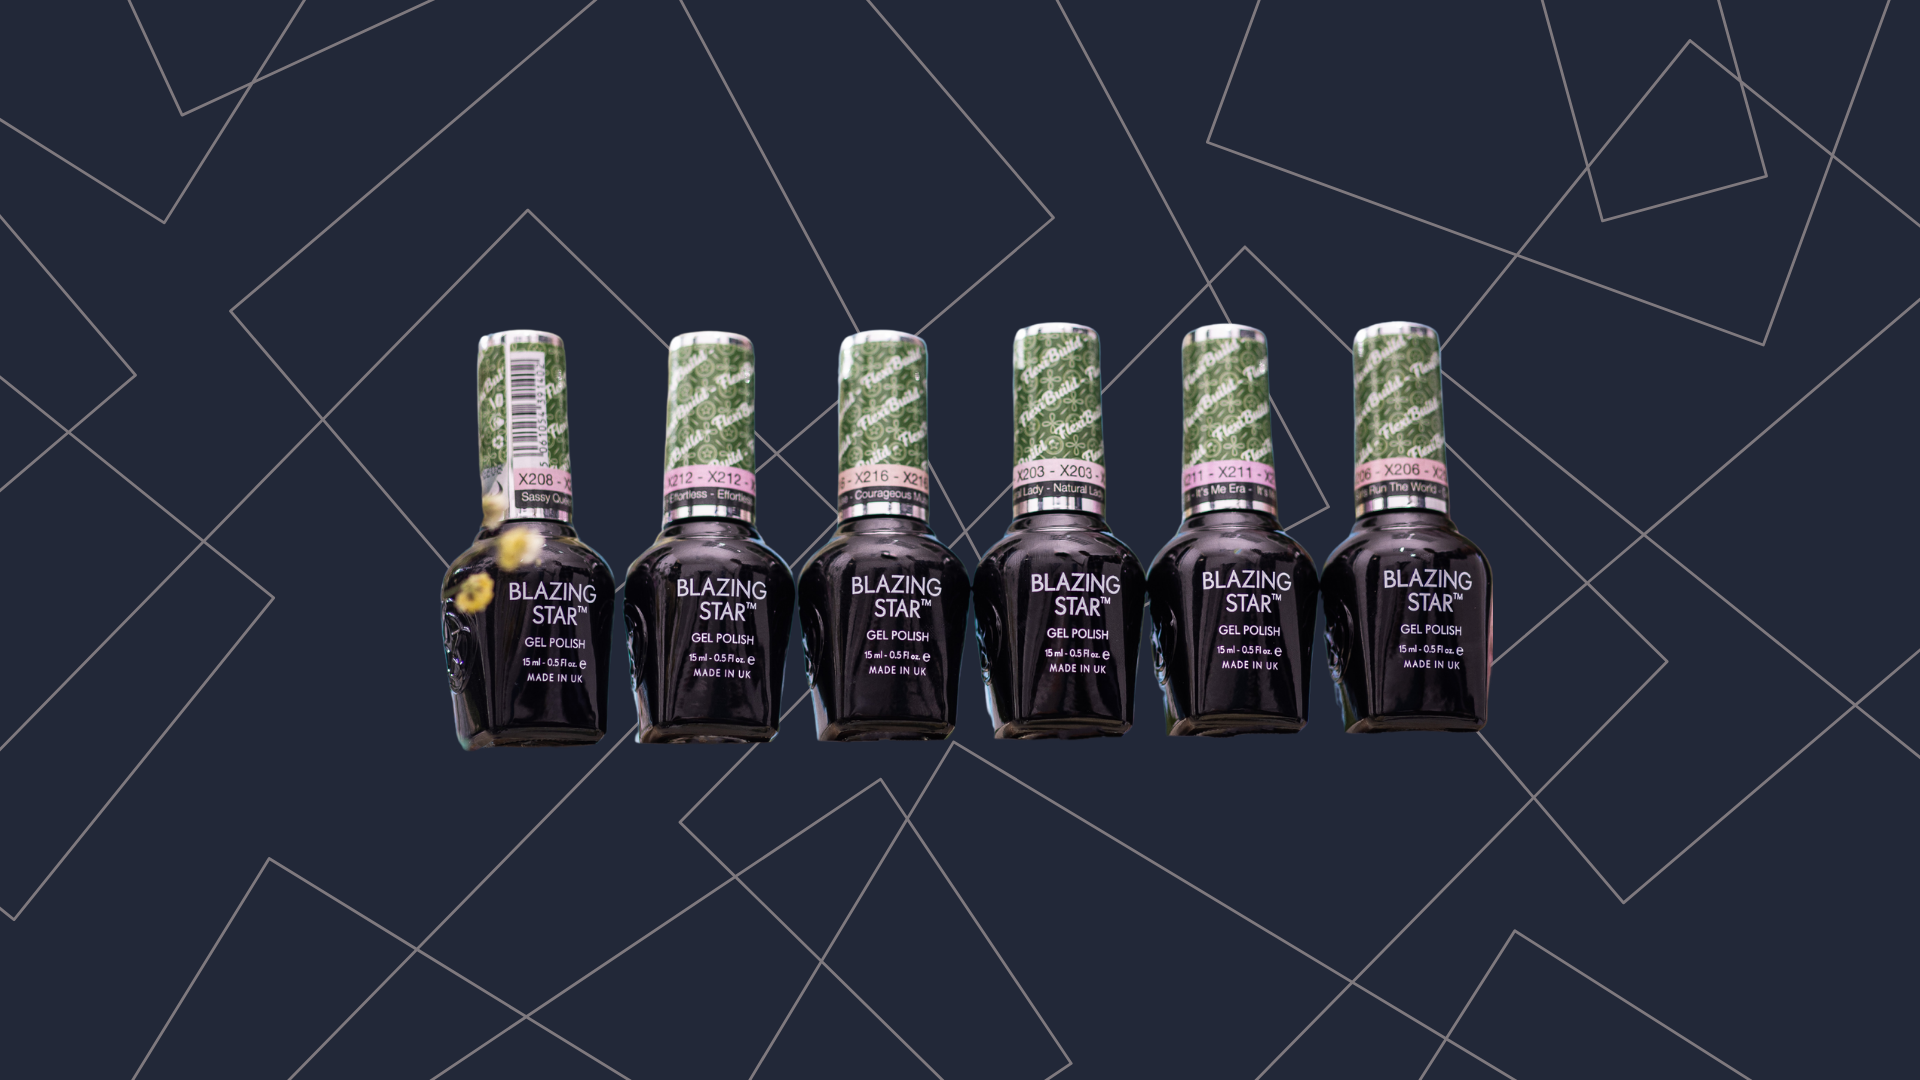
Beyond traditional builder gels, more advanced techs are now reaching for Flexi Build — a softer, more flexible builder gel especially useful for clients with damaged or weak nails.
While Flexi Build is lighter in texture, it still delivers excellent structure and retention, particularly when paired with a rubber base coat underneath.
Flexi Build is Ideal For:
- Clients with thin, fragile, or recently damaged nails who need protection but not excessive weight.
- Clients transitioning away from acrylics who require nail recovery before moving to stronger extensions.
- Clients who want a clearly defined apex but prefer a lightweight, natural feel.
- Extensions using tips for those who prefer not to work with powders.
To maximise retention and strength:
- Apply a thin layer of rubber base to create a strong bond with the natural nail.
- After curing the rubber base, continue with Flexi Build as you would with any standard builder:
- Guide, not drag.
- Build the shape gradually and cleanly.
Summary: Builder Gel and Flexi Build Are Complementary Tools
Flexi Build and traditional builder gel aren’t rivals — they’re tools for different situations. A skilled nail tech knows when to use each and how to layer them appropriately with rubber base or colour gel.
In the end, the secret to beautiful, lasting nails lies in consistent technique:
- Clean prep
- Solid structure
- Balanced application
Once those are in place, any high-quality product you choose will shine on its own.







Add comment